What should I do on my first day of Minecraft?
Title: What Should I Do on My First Day of Minecraft? A Beginner’s Guide
Introduction:
Welcome to the exhilarating world of Minecraft! Whether you’re a complete newbie or someone looking to refresh their memory, this article is here to help you make the most out of your first day in this blocky paradise. In this beginner’s guide, we’ll walk you through some essential steps to ensure your survival and set you on the path to becoming a master builder. So, grab your pickaxe and let’s dive right in!
Marking Your Spawn Point:
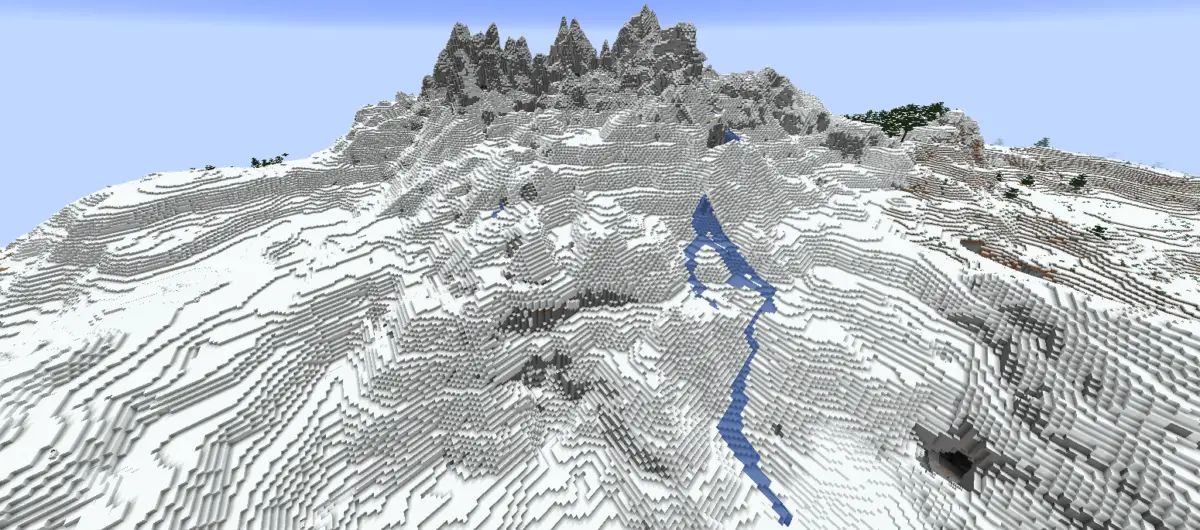
Ah, the beginning of your Minecraft adventure! To avoid wandering aimlessly and getting lost, it’s crucial to mark your spawn point. You wouldn’t want to end up in a never-ending loop of deja vu, would you? One nifty trick is to create a dirt pillar and stand on top of it or take note of the coordinates. This way, you’ll always know where to return if you wander off exploring.
Collecting Wood Blocks:
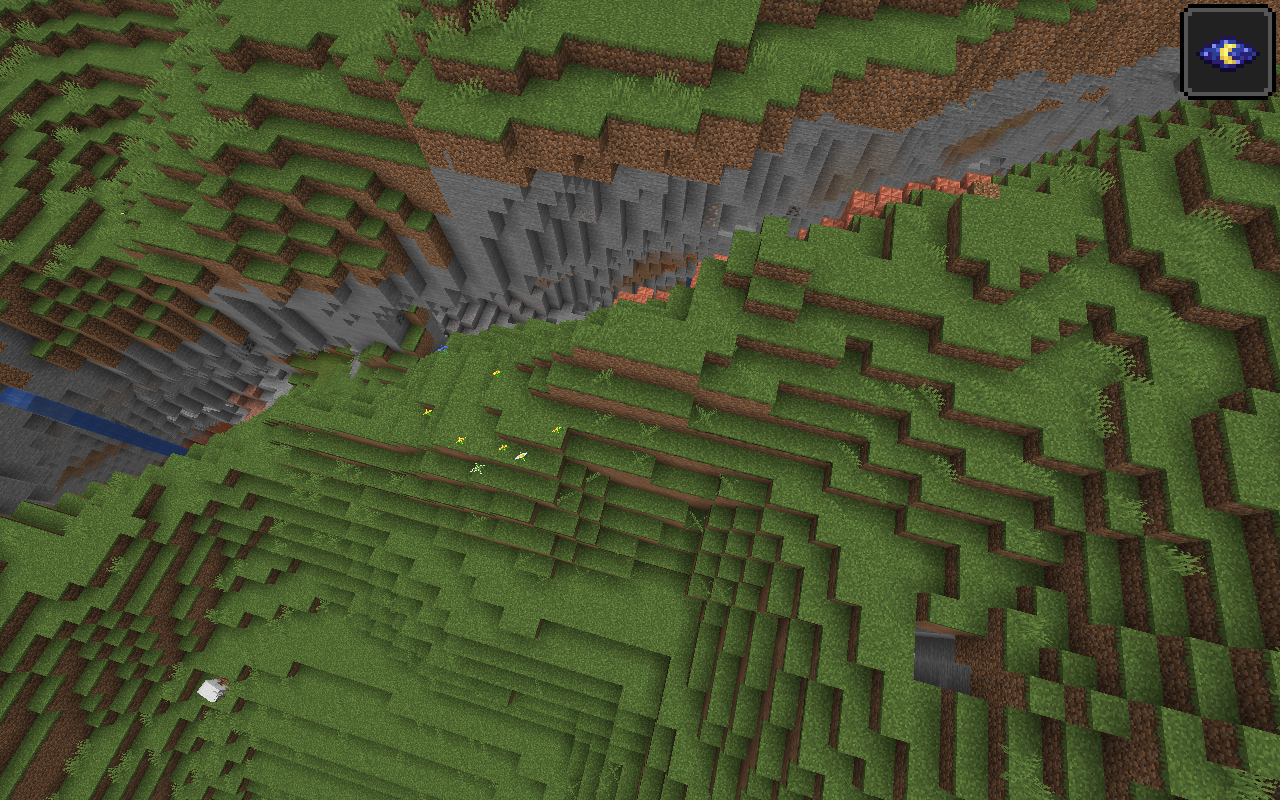
Survival in Minecraft is all about resourcefulness, and wood is your best friend in these early stages. Spot some trees in your surroundings? Time to put those hands to work! Give those trees a good old-fashioned punch or two to collect 20 wood blocks. These will come in handy for all sorts of crafting needs.
Crafting a Crafting Table:
Now that you have a stack of wood blocks, it’s time to unleash your inner craftsman. Transform those rough blocks into smooth wood planks by dragging them into your crafting grid. You’ll need 20 wood blocks to create a sufficient stock of wood planks. Once you have them, take four wood planks and arrange them in a square shape in the crafting grid to craft a crafting table. Voila! You’ve just unlocked a world of possibilities.
Placing the Crafting Table:
With your brand new crafting table in hand, it’s time to find the perfect spot for it. Simply place it on the ground, and you’ll be able to access the expanded crafting menu. This handy tool will enable you to create a variety of essential items, from tools and weapons to armor and building materials. Your imagination is the only limit here!
Preparing for Adventure:
Congratulations! You’ve successfully set the foundation for your Minecraft journey. By marking your spawn point, collecting wood, crafting a crafting table, and placing it strategically, you’re well on your way to becoming a seasoned adventurer. But don’t stop here; there’s so much more to discover and create in this vast pixelated world.
In the upcoming sections of this article, we’ll delve deeper into each step, providing additional tips and tricks to enhance your gaming experience. So, buckle up and get ready to unleash your creativity and survival skills! Remember, it’s not just about surviving the first day; it’s about thriving in this captivating universe of blocks.
Now that you’ve laid the groundwork, let the real Minecraft adventure begin!
Marking Your Spawn Point
Marking Your Spawn Point
So, you’ve decided to embark on an exciting adventure in the world of Minecraft! But hold on a second, before you start exploring, you need to make sure you can find your way back home. That’s where marking your spawn point comes in handy. It’s like leaving a trail of breadcrumbs in a mysterious forest, except you don’t have to worry about birds eating them.
But how exactly do you mark your spawn point? Well, it’s actually quite simple. All you need to do is create a dirt pillar or take note of the coordinates of your starting location. Think of it as dropping a pin on a map, so you can always find your way back to where you began.
Once you’ve marked your spawn point, it’s time to venture out and gather some resources. The first thing you’ll want to do is find some trees. But hold your horses, don’t start punching them with your bare hands just yet. That’s a surefire way to end up with sore knuckles and no wood. Instead, use your hands to hit the trees and collect 20 wood blocks. It’s like giving the trees a friendly high-five, except you’re also getting something useful in return.
Now that you’ve got your wood blocks, it’s time to get crafty. Take those blocks and drag them into your crafting grid to turn them into wood planks. It’s like taking a pile of logs and transforming them into neat, stackable building materials. Trust me, your future self will thank you for being so organized.
But wait, there’s more! With your trusty wood planks, you can now create a crafting table. It’s like upgrading from a tiny kitchenette to a spacious chef’s workstation. All you need to do is arrange 4 wood planks in a square shape on your crafting grid, and ta-da! You’ve got yourself a crafting table.
Now that you have your crafting table, you can place it on the ground and start crafting all sorts of amazing things. It’s like having your very own workshop where you can turn simple materials into tools, weapons, and even cozy little houses. The possibilities are endless!
So, there you have it, marking your spawn point is the first step towards survival in Minecraft. With a dirt pillar or coordinates to guide you back home, and a crafting table to unleash your creativity, you’re well on your way to becoming a master builder and explorer. Just remember to have fun, embrace the unexpected, and don’t forget to bring a pickaxe on your adventures. Happy crafting!
Collecting Wood Blocks
So, you’ve just started playing Minecraft and you find yourself in a world full of possibilities. You’ve got your little virtual self, but now what? Well, the first thing you need to do is survive your first day. And what better way to start than by collecting wood blocks?
Wood blocks are the building blocks of your Minecraft world. They’re versatile, easy to find, and can be used to create all sorts of things. So, let’s get started on your quest for wood!
-
Mark your spawn point: Picture this – you’re wandering around, chopping down trees, when suddenly, you’re attacked by a horde of zombies. Panic sets in, and you find yourself lost. Well, fear not! By marking your spawn point with a dirt pillar or noting down the coordinates, you’ll always know where you started. It’s like leaving breadcrumbs, but without the mess!
-
Find some trees: Now that you know where you are, it’s time to find some trees. Look around for those tall, leafy giants, and get ready to do some hand-to-tree combat. Just approach the tree and start hitting it with your bare hands. Don’t worry, trees don’t fight back.
-
Collect wood blocks: As you mercilessly smack the tree, you’ll see little blocks of wood dropping to the ground. Keep going until you have at least 20 wood blocks. Think of it as your lumberjack workout. And hey, you can even impress your friends by showing off your virtual muscles.
-
Turn wood into wood planks: Now that you’re the proud owner of a pile of wood blocks, it’s time to turn them into something more useful. Simply drag the wood blocks into your crafting grid, and voila! You’ve now got wood planks. It’s like magic, but with less smoke and mirrors.
-
Crafting a crafting table: But wait, you’re not done yet. You need a crafting table to truly unleash your creativity. Take those wood planks you just made and arrange them in a square shape in your crafting grid. Congratulations, you’ve crafted a crafting table! It’s like a workbench, but without the splinters.
-
Place it on the ground: Now that you’ve got your shiny new crafting table, find a nice spot on the ground and place it down. It’s like setting up your own little workshop. You can use it to craft all sorts of things, from pickaxes to beds. The possibilities are endless!
So there you have it, your crash course on collecting wood blocks in Minecraft. Remember, this is just the beginning of your journey. With your newfound knowledge, you’ll be able to build magnificent structures, explore vast landscapes, and maybe even survive those pesky zombies. Now, go forth and conquer!
Crafting a Crafting Table
So, you’ve survived your first day in the wild world of Minecraft. Congratulations! But before you can conquer the virtual blocky universe, you’ll need to learn how to craft a crafting table. Yes, I know, it sounds like a crafty paradox, but trust me, it’s an essential skill that will take you from newbie to pro in no time.
First things first, let’s talk about marking your spawn point. Imagine you’re exploring a vast, uncharted land, and suddenly you come across a beautiful waterfall. You decide to set up camp there, but before you do, you need to mark your spot so you can find your way back. It’s like leaving a trail of breadcrumbs in the forest, except instead of breadcrumbs, you use a dirt pillar or note the coordinates. That way, you can always find your way back to your humble abode.
Now, onto the fun part – collecting wood blocks. Think of this as your virtual lumberjack experience. You’ll need to find some trees and give them a good whack with your bare hands. It may sound a bit strange, but trust me, it’s all part of the Minecraft magic. After a few hits, you’ll have collected 20 wood blocks. Make sure to keep an eye out for any wandering creepers while you’re at it!
Once you’ve got your wood blocks, it’s time to transform them into something more useful – wood planks. Just drag the wood into your crafting grid, and poof! Wood planks magically appear. It’s like turning a boring old log into a sleek, polished piece of furniture. Okay, maybe not exactly, but you get the idea.
Now, here comes the big moment – crafting your crafting table. Gather four of those shiny new wood planks and place them in a square shape in your crafting grid. Voila! You’ve just created your very own crafting table. It’s like having your own personal workshop where you can unleash your creativity and build amazing things.
But wait, there’s more! Your crafting table is not just a fancy piece of furniture. It’s a vital tool that will open up a whole world of possibilities. With your crafting table, you can create tools, weapons, armor, and even build a cozy home to protect yourself from the dangerous creatures that lurk in the night. It’s like having a magical box that turns your ideas into reality.
So, there you have it – the basics of crafting a crafting table. It may seem like a small step, but trust me, it’s a giant leap towards becoming a Minecraft master. Now go forth and explore, my fellow block enthusiasts. The world is waiting for your creative genius to shine through. Happy crafting!
Placing the Crafting Table
So you’ve just spawned into the vast and wild world of Minecraft, ready to embark on your very first day of survival. Exciting, isn’t it? Well, hold on to your pickaxe because today we’re going to talk about a crucial step in your Minecraft journey: placing the crafting table.
Before we dive into the nitty-gritty of crafting, let’s first make sure you’re well-prepared. Marking your spawn point is essential. Imagine this: you’re out exploring, you stumble across some precious diamonds, and a menacing creeper decides to explode right in your face. Boom! You’re no more. To avoid this tragic fate, simply create a dirt pillar or take note of your coordinates. This way, if you meet an untimely demise, you’ll respawn right where you marked your spawn point. Clever, right?
Now that you’re safely marked, it’s time to gather some resources. Look around for trees, those leafy giants that tower above you. Give them a good old punch with your bare hands, and collect about 20 wooden blocks. Make sure to pick up those precious drops that come from the trees. These will be your trusty wood planks, the building blocks of your crafting adventures.
Once you’ve gathered enough wood, it’s time to work your magic. Open up your inventory by pressing ‘E’ on your keyboard. You’ll see a grid where all the crafting happens. Drag those wood blocks into the crafting grid, and voila! You’ve transformed them into wood planks. It’s like turning a plain old potato into a delicious plate of french fries. Yummy!
Now, here comes the pièce de résistance: the crafting table. This is where the real magic happens. Remember those wood planks you just created? Take four of them and place them in a square shape in the crafting grid. And just like that, you’ve crafted your very own crafting table. It’s like having your own personal workshop, but without the need for any power tools or heavy machinery.
Now that you have your crafting table, it’s time to decide where to place it. Find a nice, flat area and simply right-click to plop it down. And there you have it – your crafting table is now ready for action. It’s like having a magic table that can turn your raw resources into amazing tools, weapons, and all sorts of useful items.
Congratulations, my fellow Minecraft novice! You’ve now mastered the art of placing the crafting table. With this newfound knowledge, you’ll be crafting your way to survival and success in no time. So go forth, explore, and let your creativity run wild. The Minecraft world is yours for the taking!
Surviving your first day in Minecraft can be a daunting task, but with the right knowledge and a bit of creativity, you’ll be well on your way to becoming a master builder and explorer. Remember to mark your spawn point by creating a towering dirt pillar or jotting down the coordinates. This way, you won’t lose your precious location and can always find your way back home.
Once you’ve secured your spawn point, it’s time to gather some resources. Head towards the nearest trees and channel your inner lumberjack by using your bare hands to whack the trunks and collect 20 wood blocks. This may seem like an arduous task, but it’ll pay off in the long run, trust me!
Now that you have your wooden loot, it’s time to put those crafting skills to use. Drag those wood blocks into your trusty crafting grid and transform them into wood planks. It’s like magic, but without the rabbits and hats! These wood planks will serve as the building blocks for your future creations, so make sure to stock up.
But wait, there’s more! The pièce de résistance of your first day survival kit is none other than the crafting table. All you need is four wood planks and a little imagination. Arrange those wood planks in a square pattern in your crafting grid, and voila! You’ve got yourself a crafting table. Place it on the ground, and you’ll unlock a plethora of possibilities.
With your shiny new crafting table in place, you can now access a wider range of crafting recipes. From simple tools to extravagant structures, the world of Minecraft is at your fingertips. Don’t be afraid to experiment and let your creativity soar. Who knows, maybe you’ll stumble upon a hidden talent for pixelated architecture!
In this article, we’ve covered the basics of surviving your first day in Minecraft. We’ve learned how to mark our spawn point, collect wood blocks, craft a crafting table, and place it for all to see. Remember, Minecraft is a game that encourages exploration and creativity, so don’t be afraid to venture out of your comfort zone and try new things.
So, grab your trusty virtual pickaxe, put on your thinking cap, and embark on this exciting journey. Whether you’re a seasoned Minecraft veteran or a newcomer to the blocky world, the first day is always a magical experience full of potential and discovery. Enjoy the ride, and may your Minecraft adventures be filled with laughter, cleverness, and endless possibilities!